
If you’re wondering how to install outdoor lighting, this guide has you covered. Learn how to choose the right fixtures, plan your layout, and connect everything safely. We’ll walk you through each step to ensure a bright and welcoming outdoor space.
Key Takeaways
- Outdoor lighting options include low-voltage systems, which are safer and more energy-efficient, with high-voltage systems that offer brighter illumination but may require professional installation.
- A well-planned layout is crucial for effective outdoor lighting; sketching your landscape and strategically placing fixtures enhances both safety and aesthetics.
- Regular maintenance, including cleaning fixtures and inspecting connections, is essential for optimal performance of your outdoor lighting system.
Understanding Outdoor Lighting Options
Outdoor lighting options may vary significantly. Oftentimes, the primary choices are low-voltage and high-voltage systems. Low-voltage outdoor lighting operates on 12 or 24 volts, making it a safer and more energy-efficient choice compared to high-voltage options.
It’s perfect for DIY enthusiasts wanting to upgrade their landscape without hiring a licensed electrician.
On the other hand, high-voltage outdoor lighting provides brighter illumination but can be more costly to install and often requires professional assistance.
Low-voltage landscape lighting offers significant benefits in terms of energy efficiency and safety. Installing low voltage reduces the risk of electrical shock, making it safer for homes with children and pets.
However, lights can dim, the further they are from the transformer. Strategic layout planning and using the right gauge of wire can manage this issue effectively.
LED lights have transformed the landscape lighting industry. Known for longevity, energy efficiency, and low maintenance, LED lights are a popular choice. LED lights can be used in various fixtures such as path lights, spotlights, and floodlights, to create different effects and improve different areas of your landscape.
Planning Your Outdoor Lighting Layout
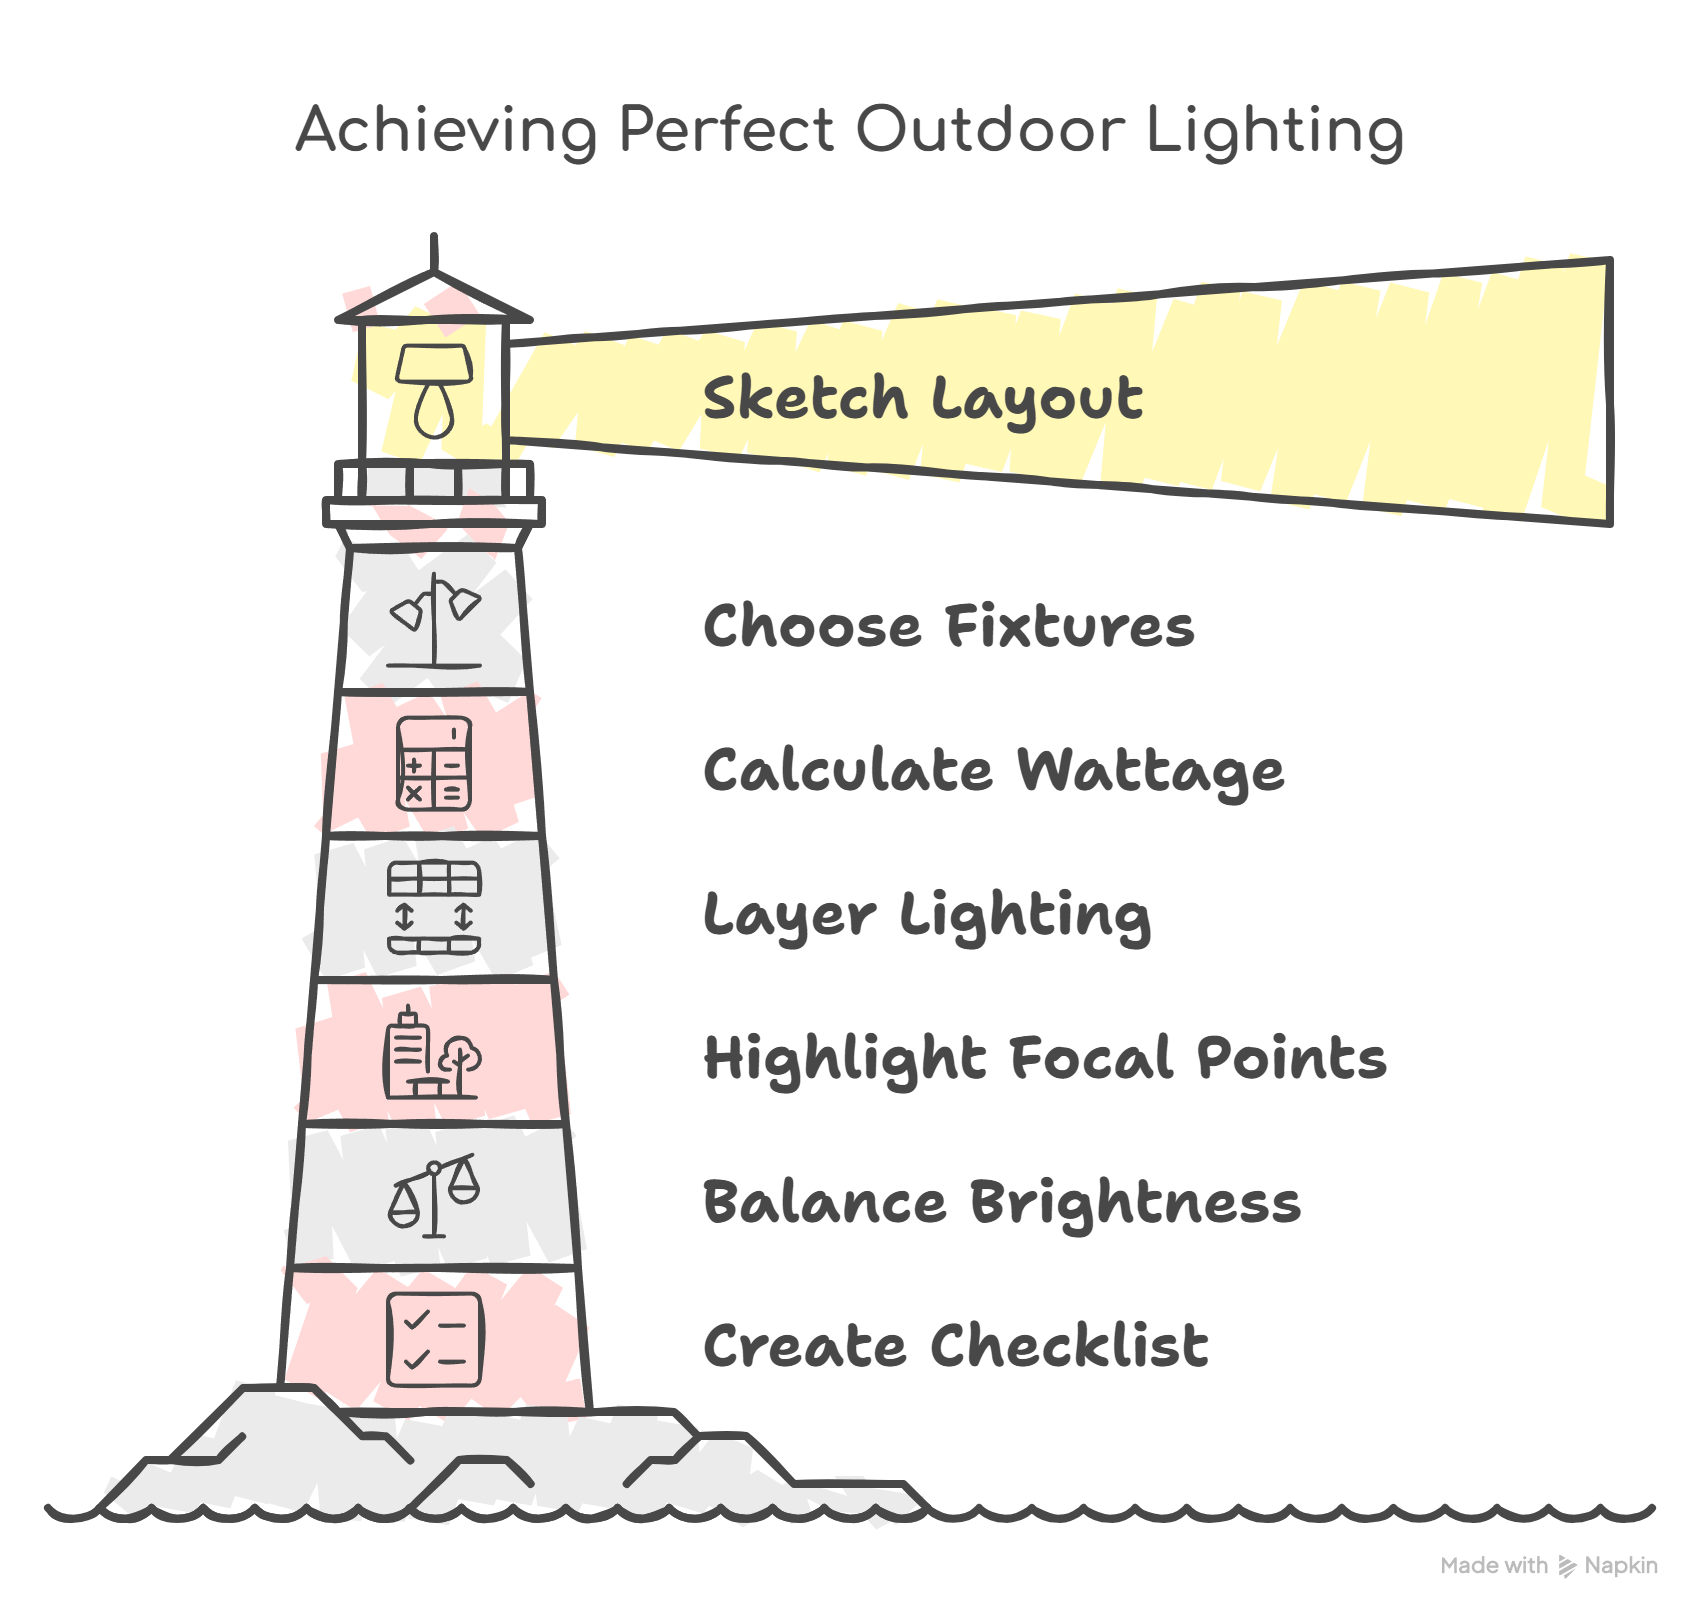
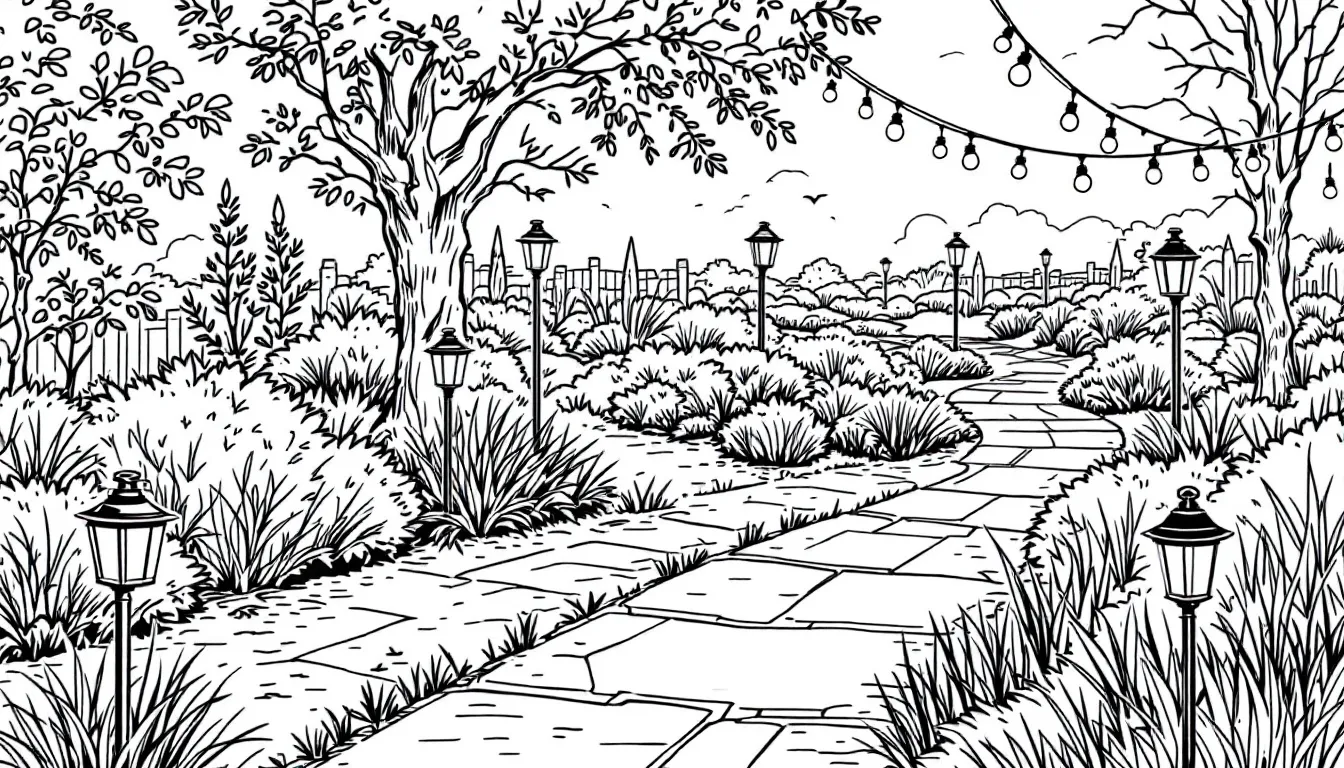
Begin by sketching your landscape and marking desired light fixture placements to get a clear picture of your project’s scope. But there’s more to great outdoor lighting than just drawing dots on paper.
To create a functional and stunning outdoor lighting design that truly caters to your home’s exterior, layering your lights is key.
Choosing the Right Light Fixtures
Choosing the right light fixtures is key to achieving the desired effect in your outdoor space. Path lights illuminate walkways, offering both safety and aesthetic appeal. Spotlights are ideal for highlighting trees, sculptures, or architectural features.
Visualize fixture placements and their impact on the overall design while sketching your layout.
To optimize lighting and avoid glare and hot spots:
- Aim spotlights slightly off objects.
- Stagger path lights instead of lining them up.
- Use path lights at 100–200 lumens per fixture for visibility without overpowering.
- Use higher lumen outputs for spot and floodlights to achieve the desired effect.
Sketching cable runs assists efficient material use and proper fixture positioning. This is quite important for visualizing the final look and making adjustments before installation. Careful planning and fixture selection create a cohesive, visually appealing lighting design that enhances your landscape.
Calculating Total Wattage
To ensure you select the correct transformer, you need to work out the total wattage. Here’s how to start:
- Summing the wattages of all planned bulbs and fixtures.
- Using this total to get a clear idea of power requirements.
- Selecting a suitable transformer based on the calculated power needs.
Layering Light for Depth and Ambiance
Think of layering your lighting like crafting the perfect recipe: each ingredient, in this case, your light type adds something unique. Start with ambient lighting, which bathes your landscape in a soft glow.
Path lights and low voltage landscape lighting fixtures provide that gentle, welcoming illumination you’ll appreciate on evening walks or while entertaining guests in your yard.
Next, introduce task lighting to brighten areas where you need clear visibility whether its steps, walkways, recreational spaces, or workspaces like outdoor kitchens. Step lights or fixtures focused on entries keep you safe and confident as you move around the property after dark.
Finally, add accent lighting to highlight focal points such as majestic trees, architectural facades, or water features. Spotlights and well-placed LED lights can create drama and dimension, turning simple elements into stunning, eye-catching features.
Focal Points Matter
A common pitfall? Over-lighting. Instead, aim to highlight key features without overwhelming your space in brightness. This kind of balance creates visual interest while letting shadows and darkness provide comforting contrast.
Ambiance Meets Function
Choosing the right brightness and color temperature is just as important. Warm LED lights (around 2700K) create a cozy, inviting ambiance perfect for relaxing spaces.
For security-focused areas, cooler temperatures (4000K and above) offer brighter, crisper light that enhances safety.
Create Your Checklist
Before you start installing low voltage landscape lighting or wiring new fixtures, ask yourself: What are your priorities? Safety, aesthetics, security, or all three? This quick checklist will help you design a lighting layout that’s both beautiful and practical:
- Illuminate walkways and steps for safe navigation
- Highlight architectural details or water features for visual interest
- Use warm lighting to create cozy spaces or cool lighting for security
- Plan fixture positions to avoid shadows or glare that disrupt the flow
When you combine thoughtful planning with the right tools like wire strippers, low voltage cable, connectors, and a reliable transformer (which will be the next focus), you’re well on your way to achieving a professional-quality lighting installation that makes your outdoor space shine day and night.
Selecting and Sizing a Transformer
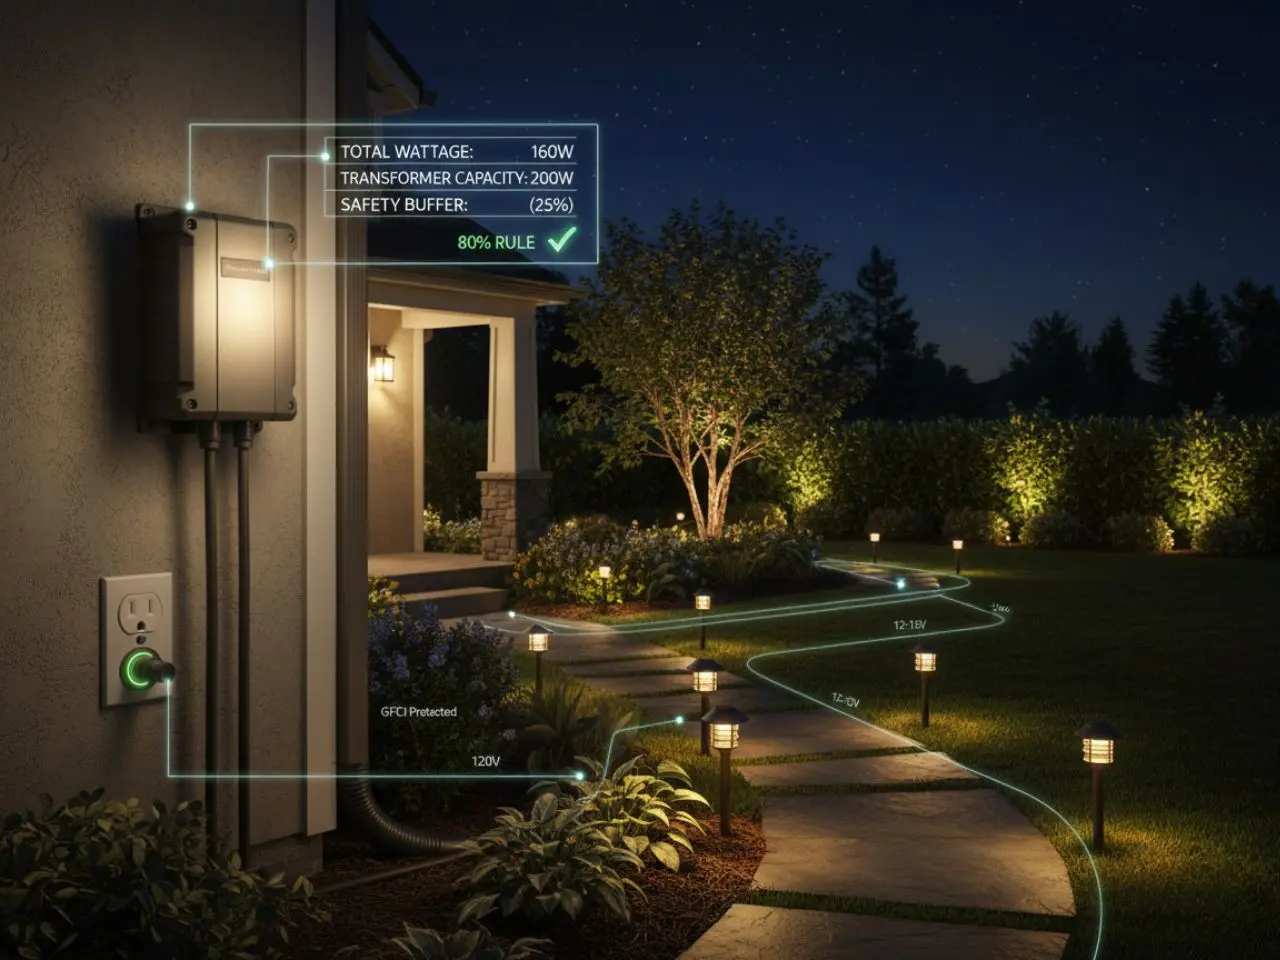
When it comes to your outdoor lighting project, the transformer is the unsung hero. A properly sized transformer prevents overheating and power drops, helping your fixtures shine bright and last longer.
It converts the standard line voltage from your home’s electrical outlet which is usually 110 to 120 volts, down to a safe, low voltage between 12 and 15 volts. This lower voltage is perfect for powering your low voltage landscape lighting and LED lights safely and efficiently.
Calculate Total Wattage
Start by adding up the total wattage of all the light fixtures you plan to install. This includes every bulb, spotlight, and path light. Knowing this total wattage is essential because it determines the size of the transformer you’ll need.
Add a Safety Buffer
Transformers shouldn’t be run at their full capacity. To extend their lifespan and protect your investment, choose a transformer that can handle 20 to 30 percent more wattage than your total fixture load. This buffer helps ensure your system runs smoothly, even if you decide to add lights later.
Connect to a GFCI Outlet
For safety, always plug your transformer into a GFCI-protected outlet. This helps protect against electrical shocks and helps your outdoor lighting system operate securely when exposed to the elements.
Follow the 80% Rule
To keep your transformer running reliably and efficiently, operate it at no more than 80% of its maximum wattage capacity. For example, if you select a transformer rated for 200 watts, plan to keep your total fixture wattage around 160 watts or less.
It strengthens your entire lighting project, from the transformer to the last light box on your line, helping them work harmoniously for years to come.
Still confused about what suits your outdoor best, speak with a professional that can help you make the best decision.
Gathering Tools and Materials
Before you roll up your sleeves and start installing your outdoor lighting system, it’s important to gather the right tools and materials. Aside from experience and skill level, gathering the right tools and materials can be the difference between a frustrating, shabby-looking project, and a safer, more professional-quality installation.
That is why you must start with a well-detailed plan, because a plan with details and layout sketch can help you draw organized and ensure you have access to all necessary equipment before starting.
Some of the right tools and materials include:
- Wire strippers
- Low-voltage cables
- Connectors
- A screwdriver
- A low-voltage transformer
- Outdoor lights
- Cable connectors
Understanding Safety Hazards
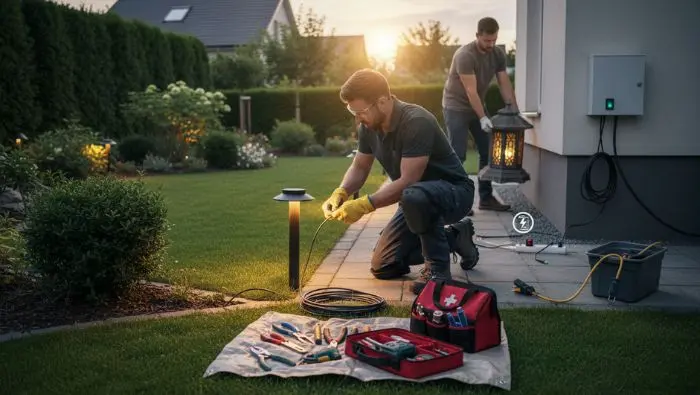
Safety is paramount, and so before going headlong into your outdoor lighting installation project, gathering the right tools and materials is only the beginning.
Prioritizing safety is just as important, if not more important because you ought to protect yourself and your home’s exterior throughout the process from all kinds of potential hazards.
Let’s look into more details about what you need to look out for.
Electrical Hazards: Always inspect cables and wires for frays or damage before use. Frayed cables can cause shorts or shocks. Avoid overloading circuits by calculating the total wattage of your fixtures to match your transformer’s capacity and wiring limits. When working with electrical outlets or the transformer, confirm that power is off to prevent accidents.
Ergonomic Hazards: Installing landscape lighting often involves kneeling, bending, or lifting heavy equipment. Use knee pads to protect your joints, take frequent breaks, and ask for help when lifting heavy fixtures or rolls of low voltage cable to prevent strain or injury.
Tool Safety: Wire strippers, clamps, and other tools should be unplugged or disconnected when not in use. Always check tools for damage, and keep blades sharp and clean to prevent slips. Lastly, store tools properly when done.
Safety Checklist and Personal Protective Equipment (PPE)
Before you start, make sure to have the following safety gear ready:
- Insulated gloves for electrical work
- Knee pads or cushioning for ground work
- Safety glasses to protect eyes from debris or sparks
- Proper footwear with good grip to avoid slips
- Hearing protection if using loud power tools
- First aid kit nearby for minor injuries
Following these precautions ensures your installation project goes smoothly but more importantly safely, letting you enjoy your beautifully illuminated landscape without any unexpected setbacks or casualties.
But if you doubt your ability to install your outdoor lighting safely, please reach out to a professional installation service.
Step-by-Step Installation Process
Installing outdoor lighting is a rewarding DIY project that typically takes 8 to 10 hours if you know what you’re doing and you follow a systematic approach that helps you achieve a smooth and efficient installation.
Continue reading to have a grasp of the nitty gritty details.
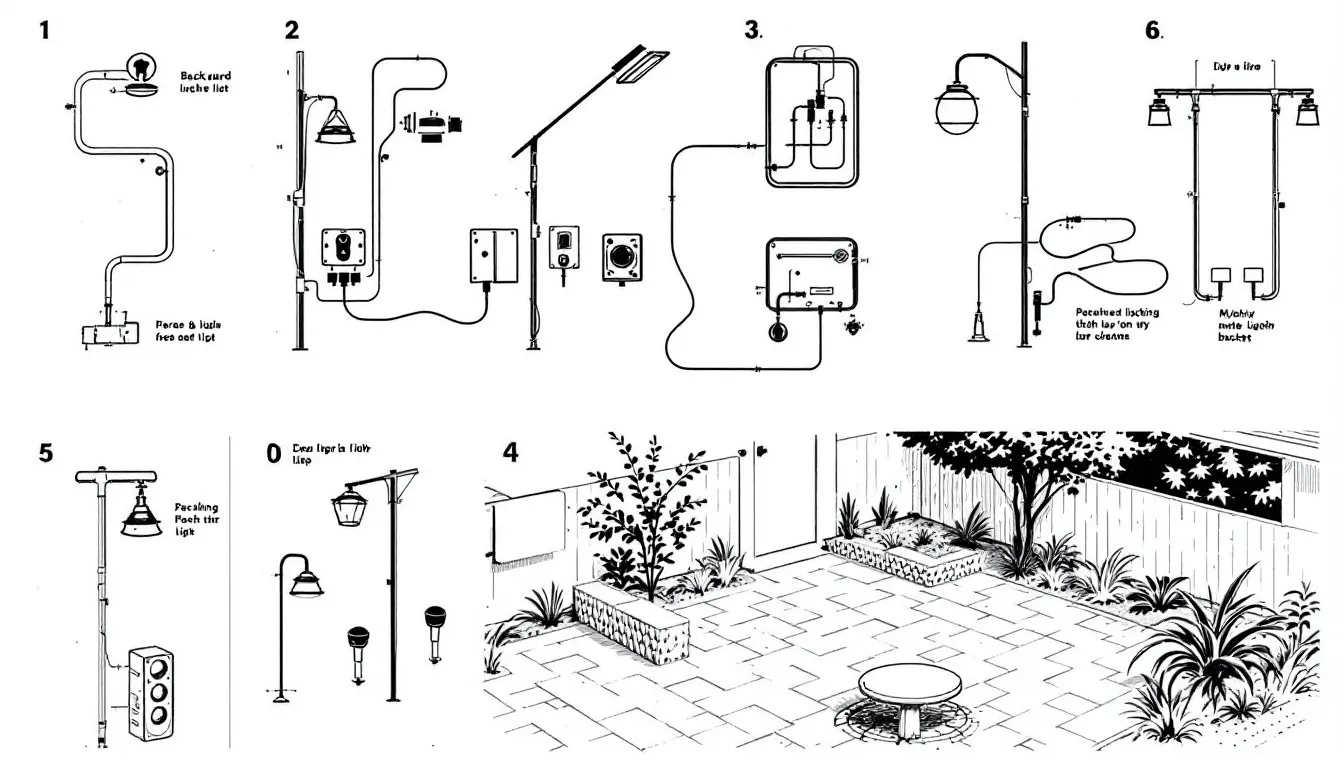
Laying Out the Lighting Components
When planning your landscape lighting installation, the wiring method you choose is just as important as the fixtures and placement because proper wiring ensures consistent brightness and protects your investment from common issues like voltage drop.
Consider Wiring Methods
Daisy Chain: This is the most straightforward method, where fixtures connect one after another along a single wire run. It’s easy for short runs but can cause voltage drop; meaning lights farther from the transformer may appear dimmer.
T-Method: A smarter way to wire for longer distances. The home run wire comes to a central fixture, then splits off in two directions, effectively cutting the run length in half and reducing voltage drop. This can be combined with loop wiring for even better stability.
Loop Layout: Think of this as a daisy chain with a twist. The wire runs from the transformer through all fixtures and loops back to the start, delivering voltage to both ends. This stabilizes the voltage but takes more cable.
Hub Method: In this method, the main cable runs from the transformer to a central hub (like a waterproof light box), and individual wires branch off to each fixture. This ensures every fixture gets the same power level, reduces splicing, and makes future additions or adjustments much easier.
To prepare your lighting setup:
- Lay out all lighting components above ground to test the layout and spacing before digging.
- Visualize the final setup and make adjustments for balanced light and sightline comfort.
- For setups totaling 200 watts or less, use 14-gauge wire for efficient power distribution.
Placing fixtures and running cables above ground first helps identify potential issues and make adjustments before final installation.
Digging Shallow Trenches for Cable
Always call 811 to mark underground utilities before digging to prevent outages, fines, and injuries. Dig shallow trenches at least 6 inches deep for low-voltage installations to protect cables and keep them hidden.
Using a flat spade to dig along bed edges or paths ensures a clean, accessible trench for future maintenance.
Connecting the Transformer
Proper transformer connection delivers a reliable and safe lighting system. To confirm that your lighting system receives proper power, follow these steps:
- Connect the transformer.
- Ensure the transformer is switched to the ON position if lights are not activating.
- Check the power outlet for electricity.
- Ensure circuit breakers are not tripped.
Inspect the transformer wire connections to ensure copper strands are not touching each other or anything else, which could cause shorts. Test and reset the Ground Fault Circuit Interrupter to confirm functionality and ensure weather protection covers are used.
Installing Light Fixtures
To prepare the ground for installation:
- Create a hole that fits each fixture’s stake.
- Avoid using a hammer to drive fixtures directly into the ground, as this may damage the fixtures.
- If more than gentle pressure is needed, use a screwdriver or punch to enlarge the hole.
Install each fixture carefully, ensuring they are securely positioned in the ground. This simple but very important step provides stability and longevity of your lighting system.
Making Electrical Connections
For fixture connections:
- Use connectors that pierce cable insulation to contact internal wires.
- If a fixture doesn’t light up, disconnect and reconnect the connector.
- Also, check the bulb.
Watertight methods like butt-splice brass connectors and heat-shrink tubing helps durability and corrosion resistance. Proper electrical connections prevent hazards and ensure smooth operation of your lighting system.
Testing and Adjusting Lights
Testing and adjusting lights is the final installation step. To optimize the lighting setup:
- Determine the final position of each fixture in the evening to assess impact and effectiveness.
- Adjust fixture positions to optimize brightness distribution.
- Ensure even landscape coverage.
Keep runs short, use thicker cable, and consider multi-tap transformers to maintain 10.5–12V at fixtures for even brightness.
Enhancing Your Lighting Setup
Upgrading your outdoor lighting setup can add convenience and sophistication to your system. Timer switches allow you to program outdoor lights to turn on and off at specific times, optimizing energy use and strengthening safety.
Smart timer switches can be connected to home automation systems, enabling remote control through smartphone switch apps.
Using photocells with timer switches helps adjust lighting based on ambient light levels, providing additional energy savings.
Troubleshooting Common Issues
Even with the best planning and installation, issues can arise with outdoor lighting systems. To resolve common issues:
- Reset the timer on landscape lighting by pressing the reset button on the transformer.
- If some landscape lights are not illuminating, inspect the filament inside incandescent bulbs.
- Confirm that the bulbs are properly seated in the socket.
For intermittent outages, check Ground Fault Circuit Interrupter trips, connector corrosion, or nicks in the cable from shallow burial or garden tools.
If far fixtures are dimmer than near ones, consider using heavier gauge cable, shorter or split runs, or higher-tap transformer settings where available.
Troubleshooting common issues helps maintain the functionality and appearance of your lighting system.
Summary
In conclusion, installing an outdoor lighting system can significantly elevate the beauty, safety, and functionality of your landscape. From understanding your lighting options to planning your layout and selecting the right transformer, each step is crucial for a successful installation.
So, roll up your sleeves, gather your tools, and embark on this rewarding DIY project. But if you’d prefer the services of a professional, do not hesitate to reach out. Your first step to a bright and inviting ambience starts with us.
Frequently Asked Questions
What are the benefits of low voltage landscape lighting?
Low voltage landscape lighting offers energy efficiency, enhanced safety, and ease of installation, making it a great choice for illuminating your outdoor spaces. These benefits contribute to a more sustainable and aesthetically pleasing environment.
How do you select the right transformer for low voltage lighting?
To select the right transformer for low voltage lighting, calculate the total wattage of your lights and choose a transformer with a capacity 20-30% higher than that total. This ensures optimal performance and prevents overloading.
What should you do before digging for electrical conduit installation in the U.S.?
Before digging for electrical conduit installation, you must call 811 to have utility services mark any underground lines, ensuring safety and preventing damage.
Does outdoor wiring need to be in a conduit?
Yes, outdoor wiring typically needs to be in conduit unless it is specifically rated for direct burial or is classified as underground feeder (UF) cable. This ensures protection from environmental factors and physical damage.
How deep should low-voltage landscape wiring be buried?
Low-voltage landscape wiring should be buried at least 6 inches deep to ensure safety and protection from damage. that is both beautiful and functional for years to come.